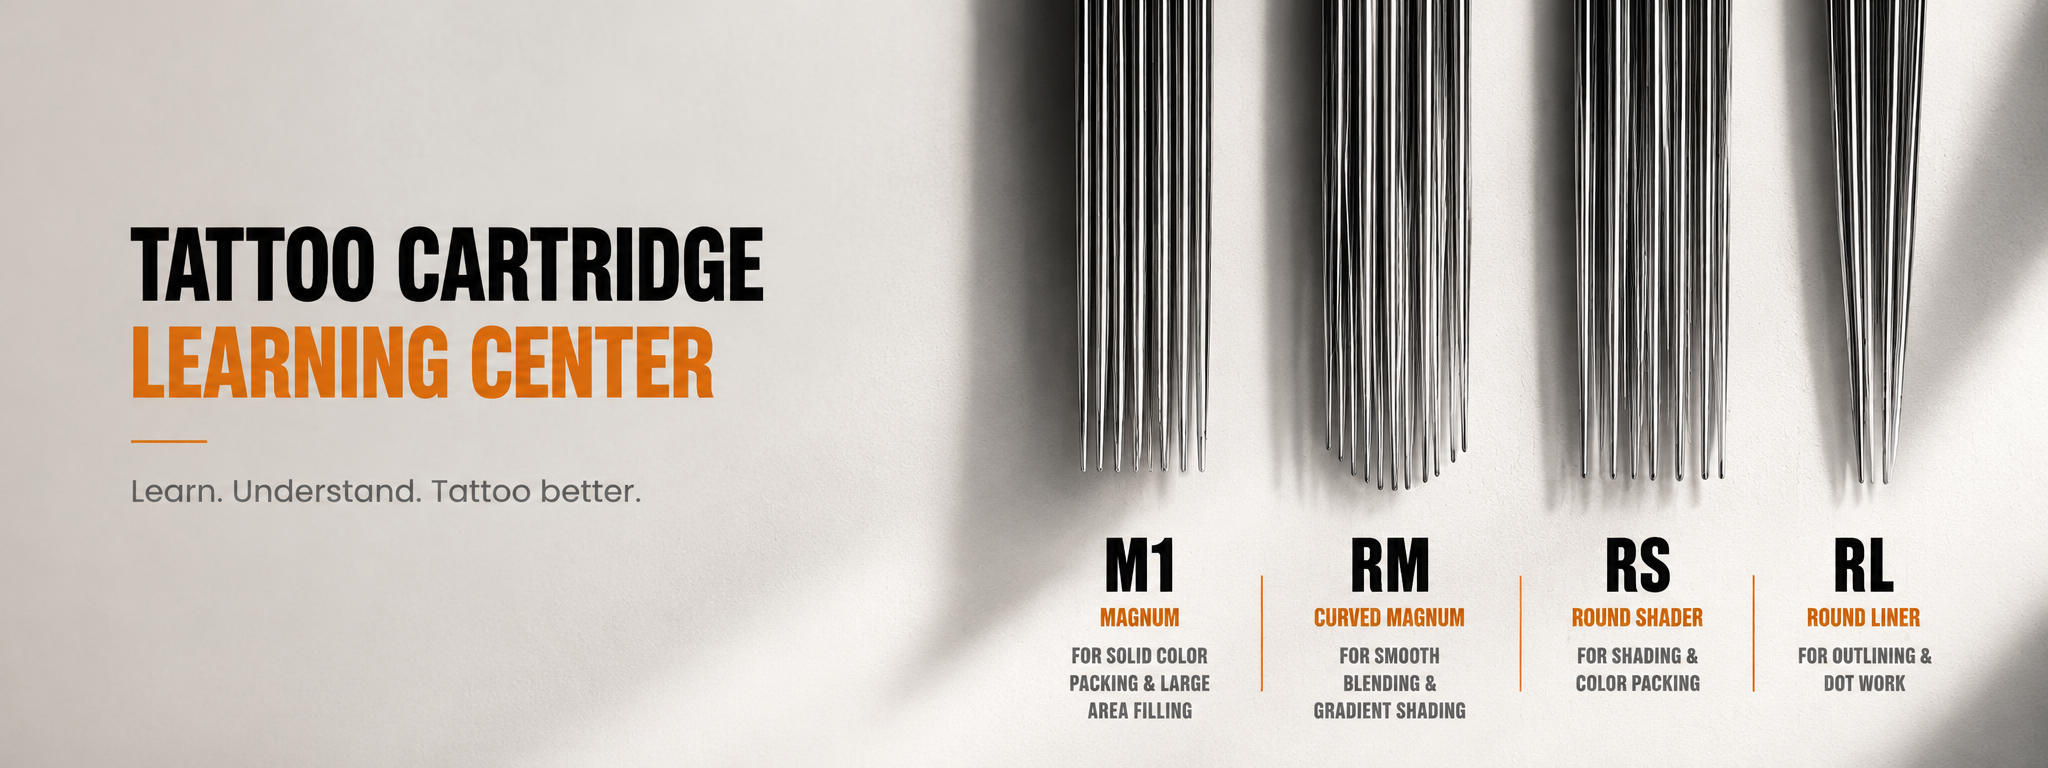
Curved Magnum vs Straight Magnum — Which Should You Choose?
The curved magnum and the straight magnum are both magnum configurations — both use a two-row needle arrangement, both cover more ground per stroke than round configurations, and both are used for shading, blending, and color work. The difference is in the needle arc, and that arc has specific functional consequences that matter for how each performs on different skin surfaces and techniques.
This page explains what makes the curved magnum different from the straight magnum, where each performs better, and how to decide which belongs in your setup for specific applications.
The Core Difference — Flat vs Curved Arc
Straight Magnum (M / M1) — the needle tips are arranged in two parallel rows across a flat plane. When viewed from the front, the needle tips form a straight horizontal line. When this flat edge contacts skin, it distributes pressure evenly across a flat surface — but unevenly across a curved surface.
Curved Magnum (CM / RM) — the needle tips are arranged in the same two-row pattern but bent into a curved arc. When viewed from the front, the needle tips form a slight curve. When this curved edge contacts skin, it sits flush against curved surfaces — distributing pressure and ink deposit more evenly across contoured anatomy.
This is the entire functional difference. One is flat. One is curved. The consequences of that difference are significant for specific applications.
How the Straight Magnum Performs
The straight magnum is the workhorse color packing configuration. Its flat edge produces a consistent band of ink deposit across a flat surface — wide coverage, even saturation, efficient pigment delivery per pass.
Where It Excels
Flat surface color packing — large solid fill areas on relatively flat skin. The flat magnum contacts flat skin evenly across the full width of the grouping, which means consistent pressure and ink deposit from edge to edge of each pass. For bold traditional fill on the chest, stomach, or upper back — areas that are relatively flat — the straight magnum is the most efficient coverage tool.
High-volume solid fill — when the primary goal is getting saturated color into a large area quickly, the straight magnum's flat edge covers ground efficiently. More needle tips contacting flat skin simultaneously means more ink per pass.
Defined color boundaries — the flat edge produces a relatively defined boundary on each side of a pass. For color fields with clean geometric borders, this defined edge can be useful — less feathering at the boundary than a curved magnum produces.
Bold and neo-traditional color — styles that rely on dense, opaque color in large flat panels. The straight magnum's efficiency at solid saturation makes it the right tool for this application.
Where It Has Limitations
Curved skin surfaces — when a flat magnum contacts curved skin (shoulder, upper arm, calf, ribcage), the center of the needle grouping contacts the skin but the edges don't — or they contact with more pressure than the center. This produces uneven ink deposit: more saturation in the center of each pass, less at the edges, and potential for hard edge marks where the outer needles dig in under pressure. Compensating for this requires technique adjustments that slow the process and add skin stress.
Smooth gradient work — the flat edge produces a relatively hard boundary on each side of a pass. Blending those hard edges into smooth gradients requires additional passes and careful overlap management. It's workable but less efficient than a curved magnum for gradient applications.
How the Curved Magnum Performs
The curved magnum was designed specifically to address the flat magnum's limitation on curved surfaces. The arc geometry allows the needle grouping to sit flush against skin that curves — which is most of the body's surface.
Where It Excels
Curved and contoured anatomy — the primary advantage. On shoulders, upper arms, thighs, calves, ribcage, and any area where the skin surface curves significantly across the working area, the curved magnum's arc contacts the skin evenly across the full width of the grouping. No center-heavy pressure, no edge dig-in, consistent ink deposit from edge to edge.
Smooth gradients and blending — the curved arc produces a naturally softer edge on each side of a pass compared to the flat magnum's harder boundary. This softer edge makes blending between passes more natural — the edges of adjacent passes merge more smoothly, which produces cleaner gradients with fewer corrective passes.
Color transitions — moving from one color into another, or from a color into skin tone, is more fluid with a curved magnum. The soft edge of each pass creates a more gradual transition zone that reads as a smooth blend rather than a stepped gradient.
Background shading and atmospheric work — large background areas that require soft, even tonal coverage rather than hard-edged solid fill. The curved magnum's softer edge produces a more diffuse coverage that suits atmospheric backgrounds in realism, Japanese traditional, and illustrative styles.
Extended shading sessions — the even pressure distribution of the curved magnum across contoured surfaces reduces the physical effort required to maintain consistent coverage. Less compensatory technique means less fatigue over a long session.
Where It Has Limitations
Hard-edged color boundaries — when you need a clean, defined edge between two color areas, the curved magnum's soft edge works against you. A flat magnum or a round liner is better for establishing clean color boundaries.
Maximum coverage efficiency on flat surfaces — on genuinely flat skin, the straight magnum's full-contact flat edge is slightly more efficient than the curved magnum's arc, which contacts the center of the skin with slightly more pressure than the edges even on flat surfaces.
Side-by-Side Comparison
| Application | Straight Magnum | Curved Magnum |
|---|---|---|
| Flat surface color packing | ✓ Excellent | ✓ Good |
| Curved surface color packing | Limited | ✓ Excellent |
| Smooth gradients and blending | Good | ✓ Excellent |
| Color transitions | Good | ✓ Excellent |
| Solid bold fill | ✓ Excellent | Good |
| Defined color boundaries | ✓ Good | Limited |
| Background atmospheric shading | Good | ✓ Excellent |
| Large scale traditional fill | ✓ Excellent | Good |
| Extended sessions on contoured areas | Limited | ✓ Excellent |
The Skin Surface Question
Most of the body is curved. Understanding which areas are relatively flat and which curve significantly helps you decide which magnum to reach for in each part of a session.
Relatively flat areas (straight magnum performs well):
- Chest center panel
- Upper back center
- Stomach
- Thigh front face
- Forearm inner face (when held flat)
Curved areas (curved magnum recommended):
- Shoulder cap
- Upper arm (all surfaces except inner face)
- Ribcage
- Calf
- Back of thigh
- Knee ditch
- Elbow ditch
- Neck sides
Most large-scale tattoo pieces span both flat and curved areas. This is why professional color artists typically run both configurations — switching between straight and curved magnum as the working area moves across different skin surfaces within the same piece.
Which One Should You Start With?
If you're adding magnum cartridges to your setup for the first time, the curved magnum is the more versatile starting point for most professional applications. Here's why:
Most tattooing happens on curved anatomy. The curved magnum handles flat surfaces adequately — it's not as efficient as a straight magnum on genuinely flat skin, but the difference is manageable. The straight magnum handles curved surfaces poorly — the uneven pressure and ink deposit on curved skin is a significant limitation that requires compensatory technique.
Starting with curved magnum gives you a tool that works across the majority of the body. Adding straight magnum for specific flat-surface applications is the natural next step once your curved magnum technique is established.
Exception: If your primary style is bold traditional work with large flat color panels — particularly on chest and back pieces where the working areas are genuinely flat — a straight magnum is the more efficient primary tool. Add curved magnum for the contoured portions of the same pieces.
Running Both in a Session — Practical Workflow
Many professional color and shading artists run both configurations in the same session, switching based on what the anatomy and technique require.
Typical workflow using both:
- Outline complete with round liner
- Straight magnum for primary color packing on flat areas and solid fill panels
- Curved magnum for contoured anatomy, transitions between color areas, and gradient/blending passes
- Round shader for detail shading and tonal refinement in specific areas
- Round liner for any remaining detail work
The switch between straight and curved magnum requires no machine adjustment on standard rotary setups — both use the same connection system and run at the same voltage settings. The transition mid-session is seamless.
Needle Size — Same Principles as Straight Magnum
Curved magnums follow the same size logic as straight magnums. Match the size to the scale of the working area.
| Size | Application |
|---|---|
| 7CM | Tight areas, small color fields on curved surfaces |
| 9CM | Standard curved surface shading and blending |
| 11CM | Medium-large area blending and color transitions |
| 13CM | Large area curved surface coverage |
| 15CM | Extensive coverage, large scale pieces |
For blending and gradient work specifically, artists often prefer slightly smaller curved magnum sizes than they'd use for straight magnum fill — the softer edge of a 9CM gives more control over gradient transitions than a 13CM in a tight tonal passage.
Summary
The curved magnum and straight magnum are complementary tools with different strengths. The straight magnum is the efficient flat-surface color packing tool. The curved magnum is the versatile contoured-surface and blending tool.
Most professional tattooing uses both. The skill is knowing which anatomy calls for which configuration — and building a setup that covers both applications without unnecessary duplication.
For artists choosing between the two as a starting point: the curved magnum covers more of the body's surface area effectively and is the more versatile first magnum purchase. The straight magnum earns its place in setups where large-scale flat fill work is a regular part of the practice.
Continue Learning
Recommended for Artists